TL;DR:
- Calculate your kayak power needs by multiplying daily watt-hours by trip days and adding a 20–30% buffer.
- LiFePO4 batteries are preferred for their stable voltage and long cycle life, ideal for multi-day trips.
Size your kayak-camping power system by multiplying your daily watt-hours (Wh) by the number of trip days, then adding a 20–30% safety buffer. Always carry a primary power source and a fully charged backup. That two-part rule covers how kayak camping power needs work for the vast majority of paddlers.
Here's a quick reference by trip type:
- Day trip: typical energy needs for phone, GPS, and lights
- Overnight: increased energy needs including camera, headlamp, small pump
- Weekend (multiple nights): larger energy capacity for extended use
- CPAP user, any overnight: significantly increased power needs per night
Weight and waterproofing shape every decision here. A system that works perfectly on a car-camping trip may be too heavy, too bulky, or too vulnerable to splash damage on a loaded kayak. Keep that constraint front of mind as you work through the sections below.
Table of Contents
- How to calculate your total energy needs for a kayak trip
- What your devices actually draw — and which ones dominate your budget
- Choosing the right battery or power station for your kayak
- How solar charging works on a kayak — realistic yields and smart placement
- Waterproofing, wiring, and safe operation on the water
- Running a CPAP while kayak camping — what you need to know
- How a Toddra expandable LiFePO4 system fits kayak-camping needs
- Strategies for charging while paddling or at camp on multi-day trips
- Weight and space budgeting for power gear in your kayak
- Key Takeaways
- The case for keeping it simple on the water
- Toddra's expandable LiFePO4 option for kayak campers
- Useful sources for deeper research
How to calculate your total energy needs for a kayak trip
Understanding your electricity needs starts with one simple unit: the watt-hour (Wh). One Wh is the energy a one-watt device consumes in one hour. A phone charger drawing 10 watts for 1.5 hours uses 15Wh. That's the whole math.
Step-by-step calculation:
- List every device you plan to run and its watt draw (check the label or spec sheet).
- Estimate daily run time for each device in hours.
- Multiply watts × hours to get Wh per device per day.
- Add all devices together for your daily total.
- Multiply by trip days for the gross trip total.
- Add a 20–30% buffer to cover inverter losses, partial cloud cover, and pass-through inefficiency.
Worked example — three-day trip:
| Device | Watts | Hours/day | Wh/day |
|---|---|---|---|
| Smartphone (2 charges) | 10W | 1.5 | 15Wh |
| GPS/VHF radio | 5W | 4 | 20Wh |
| LED camp lights | 5W | 3 | 15Wh |
| Action camera + charging | 10W | 1 | 10Wh |
| Daily total | 60Wh |
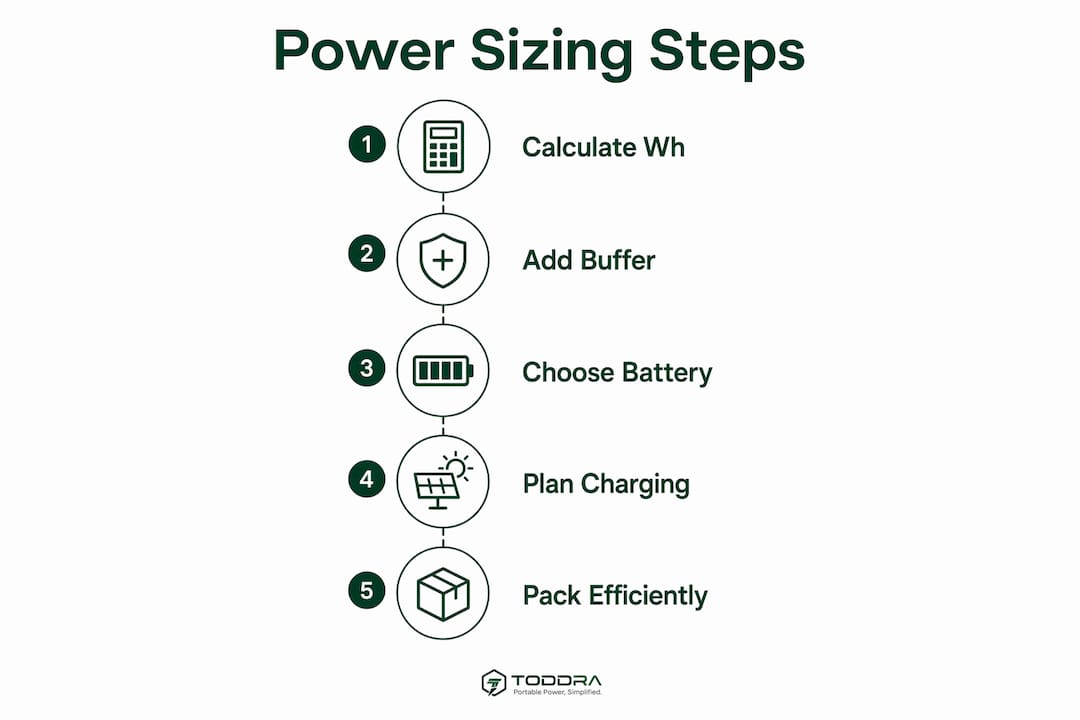
Three days × 60Wh = 180Wh. Add 25% buffer: 225Wh minimum capacity. A 300Wh power station gives comfortable headroom without excessive weight.
Pro Tip: If you plan to use a solar panel for daytime recharging, pass-through charging is less efficient than charging the battery alone — plan for slower replenishment when you're running devices at the same time you're charging.
What your devices actually draw — and which ones dominate your budget
Knowing the numbers for common kayak-camping gear helps you spot the real power hogs before you're on the water.
| Device | Typical draw | Wh per typical use |
|---|---|---|
| Smartphone | 10–15W | 10–15Wh per charge |
| GPS / VHF radio | 3–6W | 20–30Wh/day |
| LED camp lights | 3–6W | 10–20Wh/night |
| Action camera | 5–10W | 10–20Wh/day |
| Fishfinder/depth sounder | 15–30W | 30–90Wh/day |
| 12V air pump (brief use) | 50–100W | 5–15Wh per session |
| CPAP (no heat) | 30–60W | 300–500Wh/night |
| CPAP (with humidifier) | 60–100W | 480–800Wh/night |
| Portable 12V fridge | 40–60W | 300–500Wh/day |
Three example trip profiles:
Light day trip: Phone, GPS, and LED lights. Total: roughly 50–65Wh. A quality 100Wh power bank handles this with room to spare.
Overnight with CPAP: Add CPAP without humidification (roughly 300–500Wh) to the base kit. Your overnight need jumps to 400–500Wh. A 500–600Wh power station is the minimum; 700Wh gives a real safety margin.
Multi-day with fishfinder: Three days of fishfinder use (60–90Wh/day) plus base electronics and lights adds up to 500–700Wh before the buffer. Pair a 50–100Ah LiFePO4 battery with a 100W solar panel for the most reliable combination of runtime and daily recharge on trips like this.
The portable fridge and trolling motor are the two items that can completely reshape your sizing. A fridge alone can consume as much power in a day as everything else combined.
Choosing the right battery or power station for your kayak
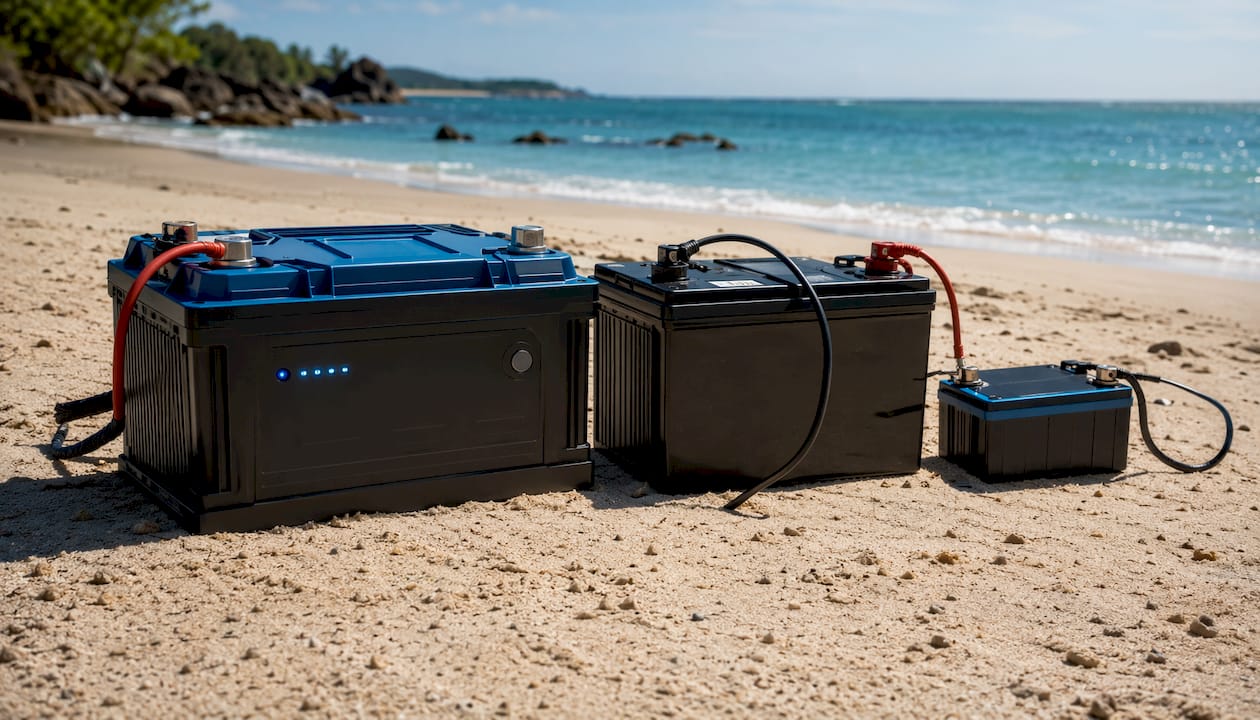
Not all batteries are equal on the water. Chemistry, weight, and cycle life all matter more on a kayak than they do in a garage.
| Battery type | Cycle life | Weight (relative) | Voltage stability | Best for |
|---|---|---|---|---|
| Sealed lead-acid (SLA) | 200–500 cycles | Heavy | Drops under load | Budget day trips |
| Standard lithium-ion | 3,000–5,000 cycles | Light | Good | Short trips, power banks |
| LiFePO4 | 3,000–5,000 cycles | Moderate-light | Excellent at low charge | Multi-day, CPAP, fishfinder |
| All-in-one power station | Varies by cell | Moderate | Good | Plug-and-play convenience |
LiFePO4 is the preferred chemistry for kayak camping. Its voltage stays stable even when the battery is nearly depleted, which matters for GPS units and fishfinders that need consistent power to perform accurately. The long cycle life means a quality LiFePO4 unit will outlast several seasons of regular use.
SLA batteries are inexpensive and widely available, but they should not be discharged below 50% without shortening their lifespan. That effectively halves their usable capacity. On a kayak where every pound counts, carrying twice the rated capacity to get half of it is a poor trade.
Safety callouts for any battery on a kayak:
- Store batteries in a vented, waterproof battery box secured to the hull.
- Always fuse the positive lead close to the battery terminal (within 18 inches).
- Use marine-grade waterproof connectors at every junction.
- Never store a battery loose in a hatch where it can shift and short against metal hardware.
Pro Tip: Modular, expandable LiFePO4 systems let you start with a base capacity and add expansion batteries for longer trips. That flexibility means you're not buying maximum capacity for every outing — just the modules you need.
How solar charging works on a kayak — realistic yields and smart placement
Solar is the most practical way to extend your range on multi-day trips, but real-world output is always lower than the panel's rated wattage. A 100W panel in good sun typically delivers 70–85% of its rated output under ideal conditions. Shade, panel angle, and haze cut that further.
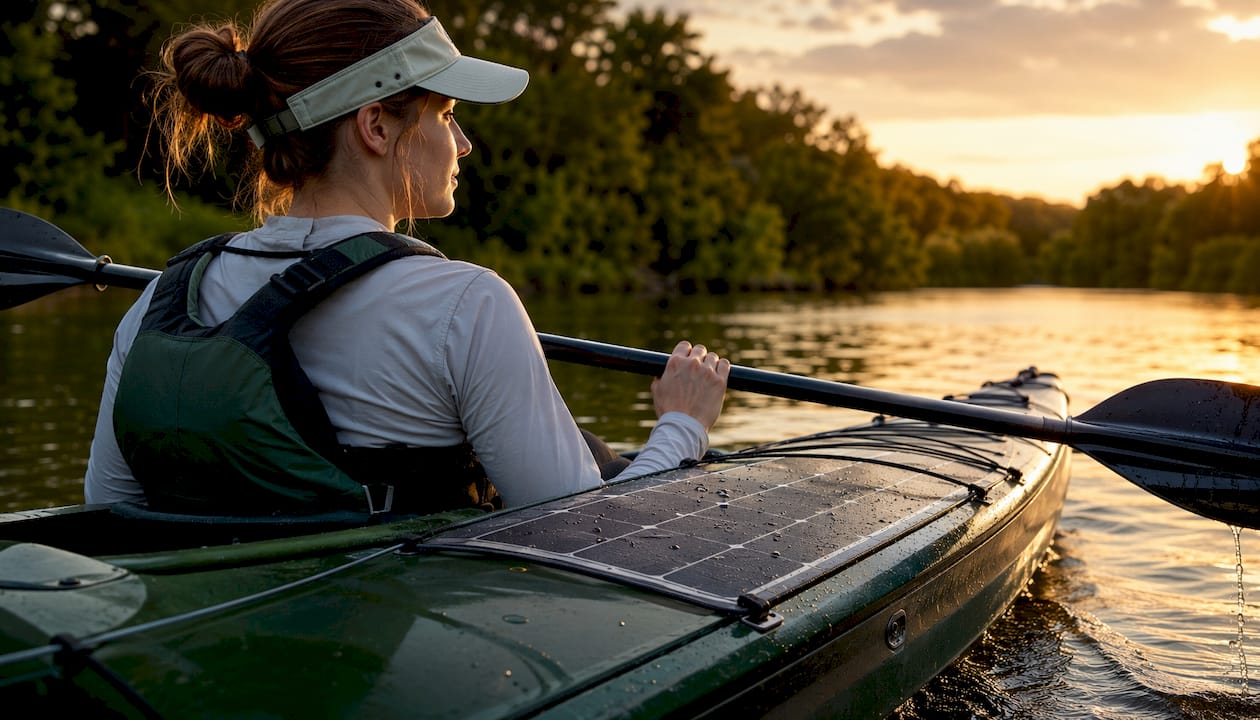
In practical terms: a 100W panel producing 75W for five hours of good sun generates roughly 375Wh in a day. That's enough to meaningfully recharge a 300–400Wh power station, or to top off your base electronics kit while you paddle.
Mounting and deployment options:
- Foldable shore-deploy panels: Set up at camp, angled toward the sun. Best yield, no drag while paddling, but requires stopping to charge.
- Flexible deck-mounted panels: Lie flat on the rear deck or bow. Convenient, always collecting, but fixed angle reduces efficiency and they're exposed to splash.
- Hatch-top placement: A small rigid panel resting on a closed hatch works well at camp and can be secured with bungee cords while underway.
For marine use, look for panels rated IP67 or IP68. Junction boxes and connectors are the most common failure points in salt spray — inspect them after every trip and rinse with fresh water.
One rule that applies regardless of panel type: never plug a device directly into a solar panel while on the water. Fluctuating panel output from shadows and movement can damage device batteries. Always charge a buffer power bank or power station first, then draw from that regulated source.
A campsite solar charging setup works best when you angle the panel toward the sun every hour or two — a small habit that can add 20–30% more yield over a full day.
Waterproofing, wiring, and safe operation on the water
Power gear on a kayak faces conditions that would never apply on a patio or in a truck bed. Spray, capsize risk, UV exposure, and constant vibration demand a higher standard of installation.
Before you leave shore, run through this checklist: All battery terminals are covered and fused within 18 inches of the positive post. Every connector is waterproof and seated fully. Cables are routed away from moving parts and secured with zip ties or cable clips. Solar panels are either stowed or firmly bungeed down. The battery box lid is latched. You've tested every circuit at home within the past 48 hours.
Securing the battery: Place it low in the hull, centered fore-to-aft, to preserve trim. A hard-sided battery box with a latching lid protects against both splash and impact. Strap or bungee the box to a structural point — not just to the gear track.
Wiring best practices: Use marine-grade tinned copper wire, sized for the current draw of your largest load. Undersized wire generates heat and is a fire risk. A blade fuse or ANL fuse on the positive lead is non-negotiable. Waterproof inline fuse holders are worth the extra cost.
Plug-and-play marine power panels — like those designed for kayak anglers — centralize multiple 12V accessories into one waterproof switcher, reducing DIY wiring errors and making troubleshooting much simpler. If you're running three or more accessories, a panel system is often cleaner than individual runs.
Running a CPAP while kayak camping — what you need to know
CPAP users can absolutely camp by kayak. The key is sizing your power source honestly and packing the machine to stay dry.
A standard CPAP without heated humidification draws roughly 30–60W, translating to 300–500Wh for an eight-hour night. Add a heated humidifier and that figure climbs to 480–800Wh per night. The single biggest way to extend runtime is to turn the humidifier off or to its lowest setting.
Practical tips for CPAP users:
- Use a DC-to-DC cable (12V or 24V direct) instead of the AC inverter. Inverter conversion losses add 10–15% to your draw.
- Store the machine in a dedicated waterproof case — a hard-sided dry box with a foam insert works well.
- Bring a backup battery sized for at least one full night, independent of your main power station.
- Prioritize CPAP charging first each morning, before topping off phones or cameras.
- If your machine supports an altitude or travel mode, enable it — some models draw less power in those modes.
A 500–700Wh power station covers one night of CPAP use without humidification and still leaves enough reserve for basic electronics. For two or more nights, pair it with a 100W solar panel to recover capacity during the day.
How a Toddra expandable LiFePO4 system fits kayak-camping needs
An expandable LiFePO4 system addresses the core tension in kayak power planning: you want enough capacity for safety, but not so much weight that the kayak handles poorly. Modular systems let you match capacity to the trip rather than always carrying maximum load.
Here's how that maps to the sizing examples earlier in this article:
- Overnight base kit: A single power station module handles 300–500Wh needs comfortably — phone, GPS, lights, and a CPAP night without humidification.
- Multi-day expansion: Add an expansion battery for a weekend or longer trip. The total capacity scales without requiring a completely different system.
- LiFePO4 cycle life advantage: At 3,000–5,000 charge cycles, a quality LiFePO4 module will outlast years of regular paddling seasons. Stable voltage at low charge means your GPS and fishfinder keep performing accurately right up to the end of a discharge.
Packing notes specific to kayak storage:
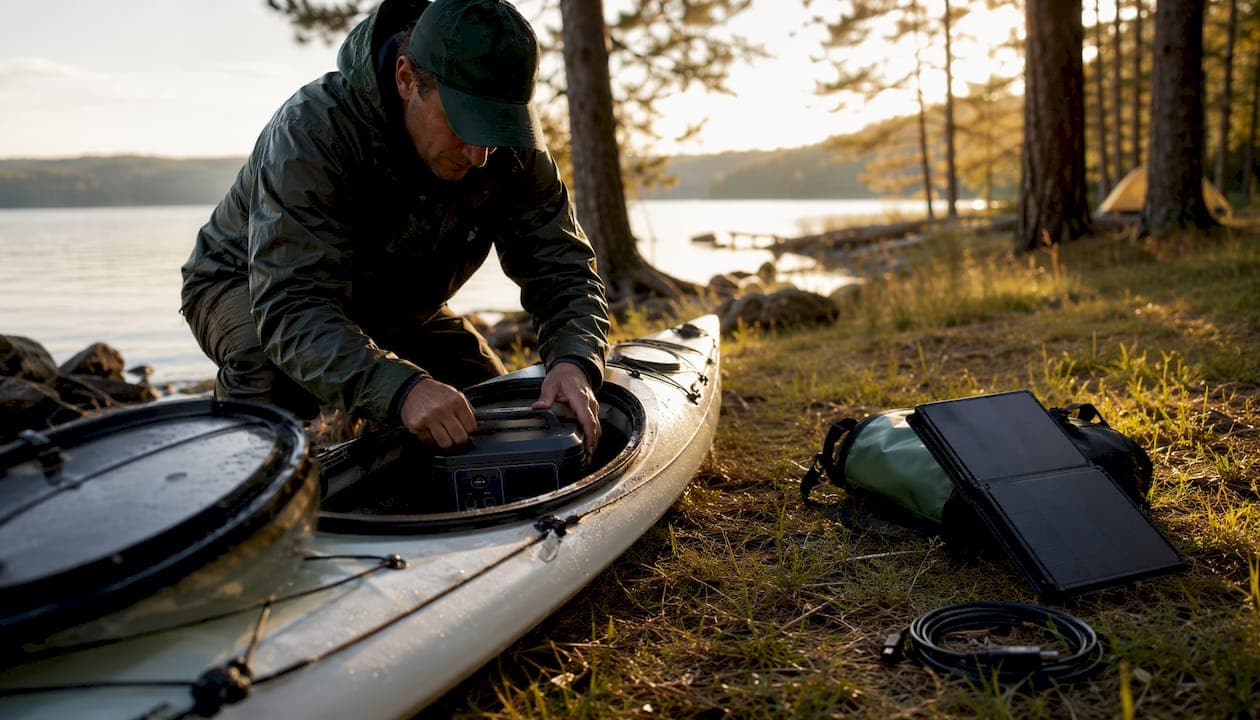
- Stow the power station in a rear hatch or behind the seat, centered for trim.
- Use a dry bag or waterproof case as a secondary layer of protection even for rated-waterproof units.
- Keep the charging cable accessible from the cockpit so you can connect a solar panel without unloading the hatch.
Toddra's US-based customer support team can help you match the right module configuration to your specific trip profile. For readers who want a ready, tested expandable solution, the Jackery Battery Pack 5000 Plus (5040Wh) represents the high-capacity end of what's available — useful for extended expeditions or CPAP-dependent paddlers who want serious reserve.
Strategies for charging while paddling or at camp on multi-day trips
The most reliable charging strategy on a multi-day kayak trip is the redundancy cycle: start each day with a fully charged primary, keep a fully charged backup, and use your solar panel to top off the spare while the primary is in use. That rotation prevents total depletion even on a cloudy day.
While paddling: A deck-mounted or hatch-top solar panel can trickle charge a power station throughout the day. At 75W real-world output over five paddling hours, you recover roughly 375Wh — enough to offset a full day of base electronics use. Secure the panel firmly before launching; a loose panel becomes a hazard in chop.
At camp: Angle your foldable panel toward the sun and reconnect it every hour or two as the sun moves. This simple habit meaningfully increases daily yield. Charge your highest-priority device (CPAP battery, primary power station) first, then move to secondary devices once the main unit is full.
Stationary charging tips:
- If you stop for lunch on a sunny beach, deploy the panel immediately — even 90 minutes of good sun adds 100Wh or more.
- Avoid running devices from the power station while it's charging from solar if you can help it. Pass-through charging slows total charge time.
- On multi-day trips, check battery levels each evening and plan the next day's charging based on the forecast.
Shore power at a marina or campground is worth using whenever it's available. A full charge from AC is faster and more reliable than any solar session, and it resets your buffer completely.
Weight and space budgeting for power gear in your kayak
Power gear competes directly with food, water, safety equipment, and shelter for space and weight in a loaded kayak. Getting this balance right is as much a packing discipline as a technical one.
A general guideline: keep your total power system (battery, cables, panel) under 10–15% of your total kayak load. For a paddler carrying 40 lbs of gear, that's 4–6 lbs for power. A compact 300Wh LiFePO4 power station typically weighs 7–9 lbs; a 100W foldable solar panel adds another 4–5 lbs. That's already at or above the guideline for a light packer.
Practical weight trade-offs:
- A smaller power station (200–300Wh) paired with a good solar panel often outperforms a heavier unit with no solar, because you recover capacity daily.
- Lead-acid batteries are cheaper but significantly heavier for the same usable capacity. On a kayak, the weight savings from LiFePO4 are a genuine performance advantage, not just a spec sheet number.
- Eliminate redundant cables and adapters. Every unnecessary item is weight and clutter in a hatch.
Space allocation: Power gear belongs in a rear hatch or day hatch, not in the cockpit. Cockpit clutter is a safety issue. Use a dedicated dry bag or hard case sized to fit the hatch opening, and pack it last so it's accessible without unpacking everything else.
Test your full packed kayak on flat water before a multi-day trip. Trim matters. A battery stored too far aft will make the bow rise and the kayak harder to control in wind.
Key Takeaways
Sizing kayak-camping power correctly means calculating daily watt-hours, adding a 20–30% buffer, choosing LiFePO4 for its cycle life and stable voltage, and always carrying a fully charged backup.
| Point | Details |
|---|---|
| Size by Wh, not guesswork | Multiply daily device Wh × trip days, then add 20–30% buffer for losses and contingencies. |
| LiFePO4 is the right chemistry | 3,000–5,000 cycles and stable voltage at low charge make it the most reliable option for kayak use. |
| Solar extends range, not replaces storage | A 100W panel yields roughly 70–85% of rated output; pair it with a power station, not as a standalone source. |
| CPAP users need dedicated reserve | Budget 300–500Wh per night (no humidifier) and prioritize CPAP charging every morning. |
| Toddra's expandable LiFePO4 system | Modular capacity lets you scale from overnight to multi-day without carrying maximum weight on every trip. |
The case for keeping it simple on the water
There's a temptation in power planning to solve every scenario at once: CPAP, fridge, fishfinder, trolling motor, all on the same trip. The math works on paper, but a kayak loaded to its limit with power gear stops being enjoyable to paddle — and stops being safe in any kind of weather.
The paddlers who get this right tend to build their system around one or two high-priority devices and treat everything else as optional. They test the full setup at home before the trip: panel angles, cable routing, battery swap procedure. They practice connecting and disconnecting the solar panel while seated in the cockpit, because doing it for the first time on the water in a crosswind is not the moment to figure it out.
Redundancy matters, but it doesn't have to mean complexity. A fully charged backup power bank that fits in a day hatch is more useful than an elaborate multi-battery system you can't troubleshoot in the field. Start simple, add capacity as you learn what your trips actually demand, and let the system grow with your experience.
Toddra's expandable LiFePO4 option for kayak campers
Carrying the right capacity without the wrong weight is exactly what Toddra's expandable LiFePO4 power systems are built for. Rather than buying a single oversized unit and hauling it on every trip, you start with a base configuration and add expansion capacity only when the trip calls for it. That means a lighter kayak on short paddles and genuine reserve power on extended expeditions.

The Jackery Battery Pack 5000 Plus expansion battery (5040Wh) is the high-capacity anchor for paddlers who need serious runtime — CPAP users, multi-day expeditions, or anyone running a fishfinder and camp lighting for several nights. Toddra's US-based customer support team is available to help you configure the right setup for your specific trip, and all orders come with secure checkout and straightforward returns. Check the product page to see current configurations and find the capacity that fits your next paddle.
Useful sources for deeper research
- A Guide to Kayak Power Banks & Solar Panels — Noisy River Outdoors: Practical redundancy strategy and real-world advice on cycling power banks while paddling.
- Kayak Battery Guide: Usage, Capacity & Brands — MANLY Battery: Technical breakdown of LiFePO4 vs. lead-acid, capacity recommendations by trip length, and cycle-life data.
- How to Size a 12 Volt Battery — Kayak Manual: Step-by-step amp-hour sizing math for both SLA and lithium batteries, with worked examples for kayak anglers.
- Best Portable Solar Panels and Chargers for Kayaks — KayakCambria: Real-world solar yield data, IP rating guidance for marine use, and connector maintenance tips.
- 10 Best Portable Power Stations Under $1000 — KayakCambria: Device draw reference numbers, pass-through charging notes, and power station comparisons for outdoor use.
- Kayak Solar Chargers for Remote Use — SwimmerLiving: Explains why direct device-to-panel charging is risky and how buffer banks protect your electronics.
- YP-RP5UCS3 Ultimate Complete System — Yak Power: Plug-and-play marine power panel system for kayak anglers running multiple 12V accessories.