TL;DR:
- Connecting solar panels to a power station requires matching the panel's voltage to the station's maximum input to prevent damage. Using appropriate adapters and verifying specifications ensures safe and efficient energy transfer from multiple panels. Proper setup involves shading panels during connection, correct wiring, and monitoring input stability for optimal charging.
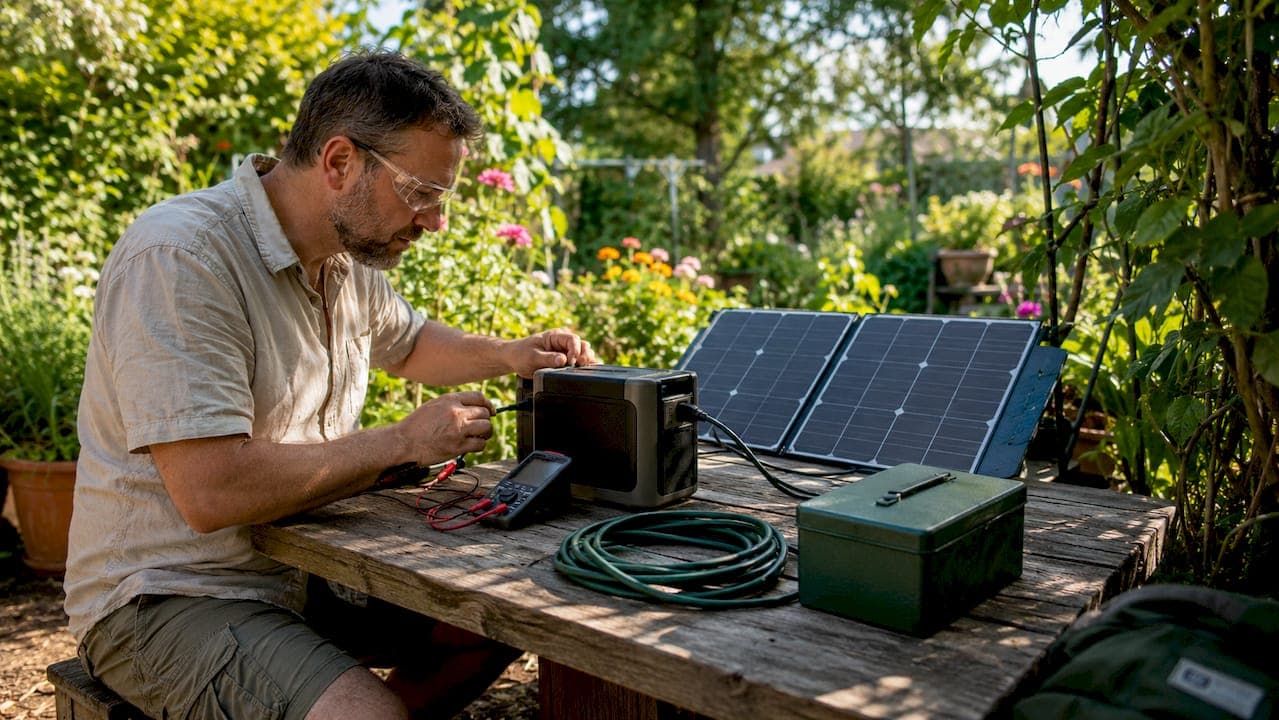
Connecting solar panels to a portable power station means matching your panel's open-circuit voltage (Voc) to the station's maximum PV input voltage, selecting the right connector adapters, and monitoring the charge input after plugging in. The industry term for this process is "solar PV charging via MPPT input," and getting it right protects both your panels and your station. Whether you're setting up a camping rig, a home backup system, or an off-grid solution, the core rules stay the same: check the specs, match the connectors, and verify the charge. This guide walks you through every step, from equipment selection to multi-panel wiring.
What equipment do you need to connect solar panels to a power station?
The right equipment makes solar panel installation straightforward and safe. Three components are non-negotiable: a solar panel, a compatible connector adapter, and a power station with a PV input port.
Solar panel types and connectors
Portable, rigid, and flexible solar panels each use different output connectors. The most common connector on residential and portable panels is the MC4. Power stations, however, often use XT60, Anderson, or barrel connectors on their input ports. Connecting solar panels typically involves matching connector types with adapter cables rather than rewiring any electronics. A simple MC4-to-XT60 adapter cable solves most compatibility issues right out of the box.
Power station input specifications
Every power station publishes a maximum PV input voltage and a maximum input wattage. The Bluetti EB70S, for example, specifies a 12–28V DC operating range with a 200W maximum PV input and accepts MC4 or Anderson connectors. Some stations support much wider ranges. Certain all-in-one battery systems handle a 25–100V DC operating range with a maximum Voc near 110V. Never assume your station's limits match another model's specs.
Pro Tip: Always read your power station's manual before buying panels. The manual lists the exact max Voc, max wattage, and accepted connector types. Buying panels first and checking specs second is the most common and most expensive mistake.
Common connector types and voltage ranges
| Connector Type | Typical Use | Voltage Range | Notes |
|---|---|---|---|
| MC4 | Rigid and portable panels | 12–100V | Industry standard for solar |
| XT60 | Power station input ports | 12–60V | Common on Jackery, Bluetti |
| Anderson | High-current connections | 12–48V | Used on some larger stations |
| Barrel (DC5521) | Small portable panels | 5–24V | Common on compact stations |
How to connect your solar panel to a power station step by step
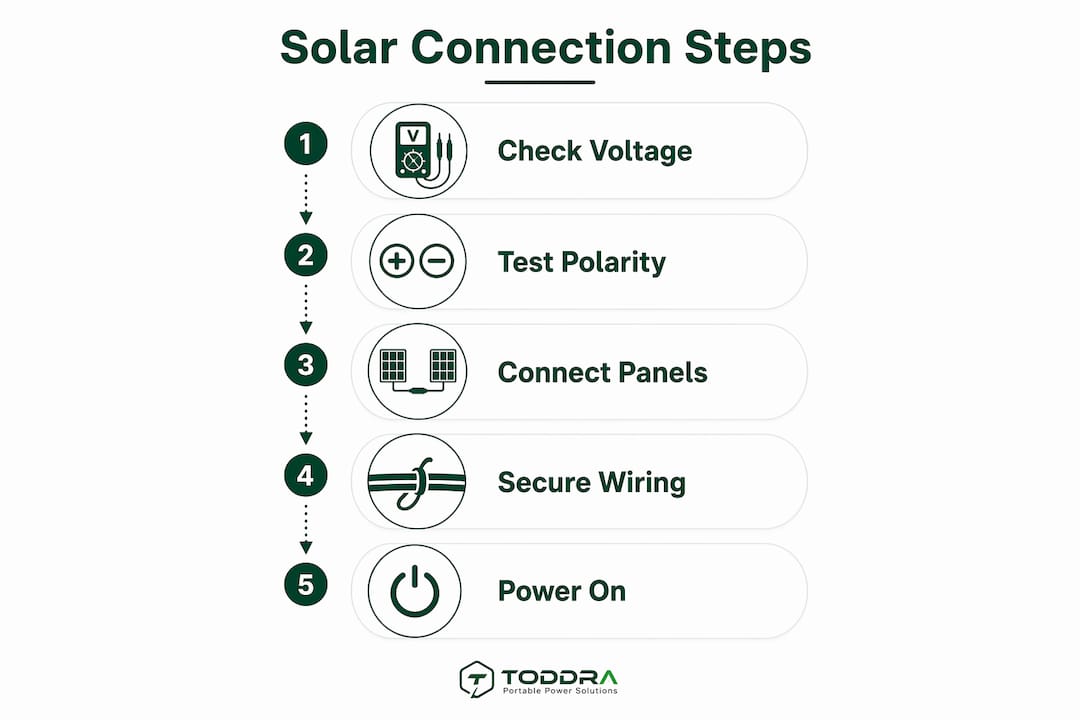
The physical connection process is simple once your specs are confirmed. Follow these steps in order to avoid live-circuit hazards and charging errors.
-
Cover or shade your solar panels. Before connecting anything, block sunlight from reaching the panel surface. Live DC voltage at open connectors creates a shock and arcing risk. Covering panels during wiring prevents live DC hazards at the connector stage.
-
Position your panels for maximum sun exposure. Face panels south in the Northern Hemisphere at an angle roughly equal to your latitude. A 30-degree tilt is a reliable starting point for most of the continental United States.
-
Attach the correct adapter cable to your panel's output. Connect the MC4 (or other panel connector) end of your adapter cable to the panel's positive and negative output leads. Confirm polarity before seating the connectors fully.
-
Plug the adapter's other end into the power station's solar input port. Most stations label this port "DC Input" or "PV Input." The Jackery SolarSaga 100W panel, for instance, uses a compatible connector that plugs directly into Jackery power stations without an adapter.
-
Uncover your panels and move them into direct sunlight. Once all connections are secure, expose the panels to sunlight. The station's display should show incoming wattage within seconds.
-
Monitor the charge input reading. Charging input wattage takes 30–60 seconds to stabilize as the MPPT controller finds the panel's optimal operating point. Do not assume a problem if the reading climbs gradually rather than jumping to full wattage immediately.
-
Verify the charging indicator is active. A solid or blinking charge icon on the station's display confirms the solar input is working. If the display shows zero watts after two minutes in direct sun, check connector seating and panel orientation.
Pro Tip: Test your connector polarity with a multimeter before the first connection. Reverse polarity will not always trigger an error, but it can damage the MPPT input stage on some stations.
How do you safely connect multiple solar panels to one power station?
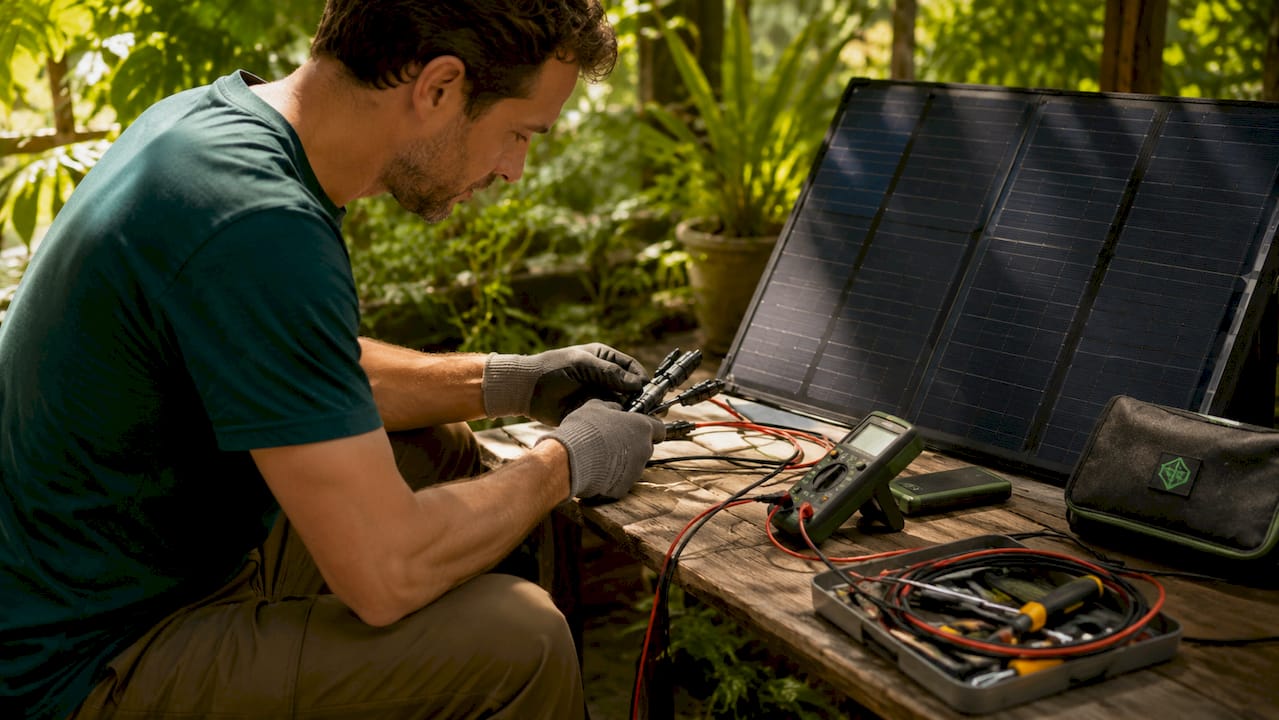
Expanding a solar power system beyond a single panel requires understanding two wiring configurations: series and parallel. Each affects voltage and current differently, and both carry real risks if done without checking your station's limits.
Series vs. parallel wiring
In a series connection, panel voltages add together while current stays the same. Two 20V panels wired in series produce 40V at the same amperage as one panel. In a parallel connection, currents add while voltage stays the same. Two 20V panels wired in parallel still produce 20V but double the current output.
Failures often come from panel combinations that exceed the station's Voc limit even when total wattage looks acceptable. A station rated for 28V max Voc will trigger overvoltage protection or suffer permanent damage if two 20V panels are wired in series, producing 40V at open circuit.
Calculating safe configurations
Before wiring multiple panels, confirm two numbers from your station's manual: maximum input voltage (Voc) and maximum input current (amperes). Design your configuration around those ceilings. Safe expansion requires designing around voltage and current limits, not just connector compatibility.
- Series wiring: Add panel Voc values. Total must stay below station's max Voc.
- Parallel wiring: Add panel short-circuit current (Isc) values. Total must stay below station's max input current.
- Y-branch connectors: Use MC4 Y-branch adapters for parallel connections. One positive Y and one negative Y combine two panels into a single output cable.
- Mixed configurations: Some setups use two panels in series wired in parallel with another series pair. Always recalculate total Voc and Isc for the full array.
| Configuration | Voltage Effect | Current Effect | Best For |
|---|---|---|---|
| Series | Adds up | Stays same | Stations with higher Voc limits |
| Parallel | Stays same | Adds up | Stations with lower Voc limits |
| Series-parallel | Moderate increase | Moderate increase | Larger arrays, balanced limits |
The MPPT controller governs what the station actually draws. A 200W max input station draws only 200W even if you connect 400W of panels. Wattage overage is safe. Voltage overage is not.
Common troubleshooting tips for solar panel connections
Most solar charging problems fall into a short list of causes. Knowing them saves time and protects your equipment.
-
Zero wattage reading after connection. The most common cause is a loose connector. MC4 connectors must click fully into place. A partial connection passes no current. Re-seat both the positive and negative connectors firmly.
-
Intermittent charging or fluctuating wattage. Poor connector seating causes arcing and unstable charging. Inspect connectors for debris, corrosion, or bent pins. Replace any connector that does not seat with a firm click.
-
Overvoltage error on the station's display. Your panel's Voc exceeds the station's maximum input voltage. Disconnect immediately. Either use a single panel with a lower Voc or reconfigure a multi-panel array to stay within limits.
-
Charging starts slowly or takes time to register. MPPT optimization takes up to 30–60 seconds after connection. Patience and correct sun positioning are both required before concluding there is a problem.
-
Panels are clean but output is low. Dust, bird droppings, and partial shading cut output significantly. Even one shaded cell in a series string reduces the entire panel's output. Clean panels with a damp cloth and reposition to eliminate shadows.
-
Station charges but never reaches rated wattage. Clouds, haze, and low sun angles all reduce real-world output below the panel's rated wattage. Rated wattage is measured under Standard Test Conditions (STC), which assume 1,000 watts per square meter of irradiance. Most outdoor conditions deliver less.
Remember: A power station's PV input stage only handles a specified voltage and current range. Always check specs before wiring. Connector type is secondary. Electrical limits are primary.
Key Takeaways
Safely connecting solar panels to a portable power station depends on matching voltage specs first, then solving connector compatibility with the right adapter cables.
| Point | Details |
|---|---|
| Voltage matching is critical | Panel Voc must stay below the station's maximum PV input voltage to prevent damage. |
| Adapters solve most connector issues | MC4-to-XT60 or MC4-to-Anderson cables handle the majority of panel-to-station connections. |
| MPPT needs stabilization time | Allow 30–60 seconds after connection for the charge reading to climb and stabilize. |
| Series wiring raises voltage | Wiring panels in series adds voltage, which can exceed station limits even at safe wattage. |
| Wattage overage is safe, voltage overage is not | A station's MPPT controller caps watt input; excess voltage bypasses that protection entirely. |
What I've learned from setting up solar panel connections in the field
The spec sheet is the most underused tool in solar setup. Most people buy a panel they like, then check whether it fits their station. I've seen that approach destroy MPPT input stages on otherwise excellent power stations. The fix is simple: read the manual first, then shop for panels that fit within the voltage window.
Connector quality matters more than most guides admit. Cheap MC4 knockoffs look identical to quality connectors but seat loosely and arc under load. I use connectors from established manufacturers and inspect every connection before covering the setup. One bad connector in a multi-panel array creates problems that are genuinely difficult to trace.
The MPPT behavior surprises first-time users every time. People connect their panels, see zero watts for 45 seconds, and assume something is broken. MPPT optimization is a real process that takes time. Give it a full minute before troubleshooting. Panel orientation also matters more than people expect. A 10-degree adjustment toward direct sun can add 15–20% to real-world output on a clear day.
For anyone building a portable solar power system for camping or travel, start with a single panel and one station. Understand the behavior of that pairing before adding panels. Expanding a system you understand is straightforward. Expanding a system you don't understand is how equipment gets damaged.
— Jackson
Toddra's solar generators make the connection process easier
Toddra carries a carefully selected range of solar generators and portable power stations designed to work with popular solar panels right out of the box. Each system comes with compatible adapter cables and clear input specifications, so you spend less time troubleshooting and more time using clean energy.
The Jackery Solar Generator 2000 Plus delivers 2,042Wh of LiFePO4 capacity and 3,000W of output, with a wide solar input range that accommodates multiple panel configurations. For readers building out a full solar power system, Toddra's solar generator collection covers everything from compact camping units to high-capacity home backup systems. US-based customer support is available to help you match the right panel to the right station before you buy.
FAQ
What does Voc mean and why does it matter?
Voc stands for open-circuit voltage, the voltage a solar panel produces when not connected to a load. Panel Voc must stay below the power station's maximum PV input voltage to prevent overvoltage errors or permanent damage.
Can I connect any solar panel to any power station?
No. You must verify that the panel's Voc falls within the station's accepted voltage range and that the wattage does not exceed the station's maximum input. Connector adapters solve physical compatibility, but electrical specs must match first.
How long does it take for solar charging to start after connecting?
Charging input wattage typically stabilizes within 30–60 seconds after connection as the MPPT controller finds the panel's optimal operating point. If no wattage appears after two minutes in direct sun, check connector seating and panel orientation.
Is it safe to connect more solar panels than the station's rated wattage?
Wattage overage is generally safe because the station's MPPT controller caps how many watts it draws. A 200W max input station draws only 200W even with 400W of panels connected. Voltage overage is not safe and can cause permanent damage.
What is the difference between series and parallel panel wiring?
Series wiring adds panel voltages together while keeping current the same. Parallel wiring adds currents together while keeping voltage the same. Choose the configuration that keeps both total voltage and total current within your station's published input limits.